There's nothing like working hard toward a goal and being able to enjoy the fruits of your labor. Well, I made a card using this quote and a fun Squigglefly image from artist Cheryl Alger. The digi image is called Smooth Sailing and I used part of it with tongue in cheek for the Squigglefly challenge of incorporating fruit into your card or project. I'm sure that look of concern on my sledding girl is due to the lack of snow and the abundance of fruit, but it really is smooth sailing for her now that she's going downhill.
Using Squigglefly digis is also smooth sailing with over 50 artists! Check out the Squigglefly store for lots of Spring and Easter images new this month, too. Here's the full digi image that I used:
Come over and play with us at Squigglefly!
Challenges:
Outlawz Monday Greeting Card Challenge - Anything Goes
Monday, March 31, 2014
Thursday, March 27, 2014
Miracles Still Happen
Today I want you to say a prayer for a friend of mine who is going through a rough time. I meant to send her a canvas I had made previously but I thought I had better seal it with ModPodge and lo and behold the words I had written on the canvas smeared!! Note to self: Never use gel pen to journal on canvas, no matter how sharp and clear it makes it look! LOL
So I decided to make another canvas for her, but she doesn't know I'm sending this one out to her. Shh! It's a secret. I like to buy my canvases on clearance or a really good sale. This one was part of a four pack on which one had been torn in two places. I mod-podged the back of the tears and then covered the front of the canvas with patterned paper from Webster's Pages (US1711D)...worked perfectly, and for pennies per canvas!
I used a little bit of everything on my project today:
12x12 stretched canvas; Tim Holtz' embossing die, distress inks and grunge board (I wouldn't be surprised if the bird on the branch were his, too); Fancy Pants flower and sentiment stickers; Alphas from Rebecca Sower Designs and Colorbok; stamped manga fairy image from Gina Moceri; gold metallic paint; Mod Podge; Sakura white gel pen; gold jewels and leftover ribbon.
My techniques include distressing in the form of tearing and inking. The quote reads: "Even today, Miracles still happen." I want my friend to never give up hope for any of life's situations. We grow stronger every time we get up from being beaten down; we learn to see more clearly when days are darkest; and we learn to spread our wings and fly when winds of change whip against us. It's funny how I took those thoughts and came up with the canvas I'm showing, but inspiration sometimes throws us curves and we just have to roll with them. I rolled with mine and came up with something which I must soon bundle up and send off into the world. I hope it cheers her up!
Wednesday, March 26, 2014
Progressive Christmas Card Challenge
Today I discovered a Christmas card challenge over at Digi Stamps 4 Joy. Basically, you make a Christmas card for each month and link it with the blog and you will receive a digi paper/image with which to make the next month's challenge card. I received this delightful digi paper with all words Christmas-y and managed enough time to make two cards with the same sheet of patterned paper and embellishment pack that I found in my Christmas stash. Both sport the DS4J paper printed ATC-sized. The patterned papers are from the DCWV Christmas stack. The silhouette stickers are from Craft n Craftin.
My first card is horizontal, and the DS4J paper is framed with white cardstock. I added two reindeer stickers and then used a Fiskars snowflake border punch to cut out a few tiny snowflakes.
I made my second card on the vertical, choosing to add the border to the top of my card and framing my digi in black. I used the Christmas tree sticker and added some leftover white snowflake brads to the border.
So I have a very good start to this year's Christmas card stash. And now I want you to check out that link and see all the other beautiful and festive cards, all made with the same DS4J digi. Don't be shy--come join us!!
Tuesday, March 25, 2014
Love Rules without Rules
Today I made a card for my girlfriend, who will celebrate her wedding anniversary next week. I love, love, love this QKD image called Steampunk Heart. I had so much fun coloring and embellishing it! Here I popped my colored image onto a piece of Tim Holtz Idea-ology patterned paper, tearing the edges. I added to the effect with some diecut gears.
I adhered it all to background paper that was designed by me using three different acrylic paints and a credit card to scrape it all together into the pattern you see. Punching holes at the bottom, I tied ribbons using more Tim Holtz (this time in the way of brads). After adhering the whole thing to some sheet music, I finished off my card by rubbing some metallic acrylic gold paint around the edges.
You can play with this heart as well as other QKD images by checking them out at the Shop. There are images and stamps for every crafting style! Whatever you choose to make, have fun crafting!
Monday, March 24, 2014
Dotty Over Squigglefly!
This week the Squigglefly Challenge calls for Polka Dots! Now I don't really like polka dots so I don't have a lot of paper or embellishments in that style, but I found both paper and ribbon in my leftover stash, so here is the card I made for the challenge. The digi image is called "Vanity Thy Name Is Woman" by the lovely and talented artist Lynne Stansbery. Can you tell she's one of my fave artists? LOL
I colored her with Copics and framed her in coordinating colors of cardstock before popping her onto my polka dotted card face. I did the same with my sentiment, a 2-parter from SU. I finished off my card with a linen flower and a piece of polka-dotted ribbon.
The inside of the card finishes the sentiment. It reads: "and now you must tell me that I look marvelous!"
Pull out your Squigglefly images and come play with us as we celebrate a week's worth of polka dots!
You can also use them for the Outlawz Paper ala Mode Challenge this week as well. Their challenge is to use something on your card that starts with the first letter of your name. My name is Pat and the Polka dots are my challenge item!! For those who need a lttle push, here's a list of alphabetically listed items you might use if your name starts with:
A is for animals, atc's, alphas and apples
B is for buttons, brads, birds and braid
C is for Copics, chipboard, corrugated and CAS
D is for diecuts, distress, dimension and diamonds
E is for elephants, envelopes, embossing and emerald
F is for fiskars, fairies, frogs and flocking
G is for green, gears, glitter and giraffes
H is for hearts, hippos and heat embossing
I is for indigo, inks, iris folding and inchies
J is for jade, jute, jewels and journaling
K is for kites, knots and kids
L is for lime, lace and layers
M is for monkeys, Mod Podge and metal
N is for notes (musical), negatives and newsprint
O is for orange, oil pastels and ombre
P is for polka dots, paint, punches and prima
Q is for question marks, quilling and queens
R is for Ranger, rustic and roses
S is for stamping, stickles and Scrapbook Stamp Society (their sponsor)
T is for tri-folds, tearing and tulips
U is for underwater, unicorns and UTEE
V is for vertical, vines and vellum
W is for washi, women, water colors and white
X is for Xyron and XOXO
Y is for yellow and you tube
Z is for zentangles and zebras
Whew, there you go, now craft!!
Friday, March 21, 2014
Coloring My World One Art Journal Page at a Time
Time to show off another water colored background page from my art journal. I use just the kids' watercolor paint sets from Crayola for my pages, but I am painting more and more and can definitely see an investment into those expensive little tubes of watercolors coming to a future near me soon! LOL
Here, I wet a page from a vintage women's magazine and loaded my brush full of color, sometimes letting it drip down (or up) the page. When it dried, I added flowers and leaves to the corner. I wanted another nice sentiment or quote, so I rummaged through my rubber stamps and found this one about friendship. After stamping it with CTMH ink, I punched two sides of it and popped it onto cardstock before adding it to my water color background. I added the line of jewels 'cause I like some sparkle.
I also made a watercolor background using a paper doily. While visiting Seattle this week (and the University with my daughter),
I got to play in my Zentangling notebook. So I tangled a flower and cut it out to place on my paper doily. I had very little choice of colors with which to play with my tangle, but I still like the idea of my water colored paper doily being the background for my blossom.
Whatever craft you create, whatever medium you use, always remember to have fun!! My motto is "Love what you do; Do what you love."
Tuesday, March 18, 2014
Finally, Spring (Almost)
At Last! Spring is just around the corner! I have been waiting all winter for Spring! LOL
And to celebrate a new season I have made a new card today. I used "Sketched Bunny" again-I love the look of it and it is so easy to color up!
I have been sneaking a little Spring cleaning in before the actual day, so my card showcases some pastel paint chips I've been hoarding all winter. I cut them and then adhered them at a diagonal, then popped my bunny image on them.
After inking the edges of my card, I added the Spring sentiment (printed on my computer from Word) as well as a line of pearls. A nice simple card that heralds the new season!
For more Spring-themed images, check out the QKD Shop.
Monday, March 17, 2014
Thoughtfulness Boils Down to Courtesy
My canvas today uses a digital image from Ike's World called Muse 6. I cut her face out of the full image in order to create her hair from her thoughts. My Muse is being very thoughtful today, her head full of ideas on how she can make the world a better place.
No matter how many ways you can describe the word thoughtfulness, it all comes down to one word—courtesy. Saying please when asking for something…saying thank you for a kind word or act…listening when a person speaks.
Melissa, one of my crafting friends, says thank you in a simple but amazing way. She sends boxes of handmade
cards to the troops. Our deployed men
and women are in areas where greeting cards are hard to come by. She makes her own as well as collects from
thoughtful crafters and sends thousands to Operation Write Home, which in turn
sends them overseas for the troops to send home to their loved ones.
Do you see the domino effect that the thoughtfulness of my
friend creates? Her actions cause others to thoughtfully join
in, which allows others to thoughtfully send out birthday greetings and get well wishes and
congratulations to family and friends back home. Thoughtfulness spreads love and good will
across the globe in an endless cycle!
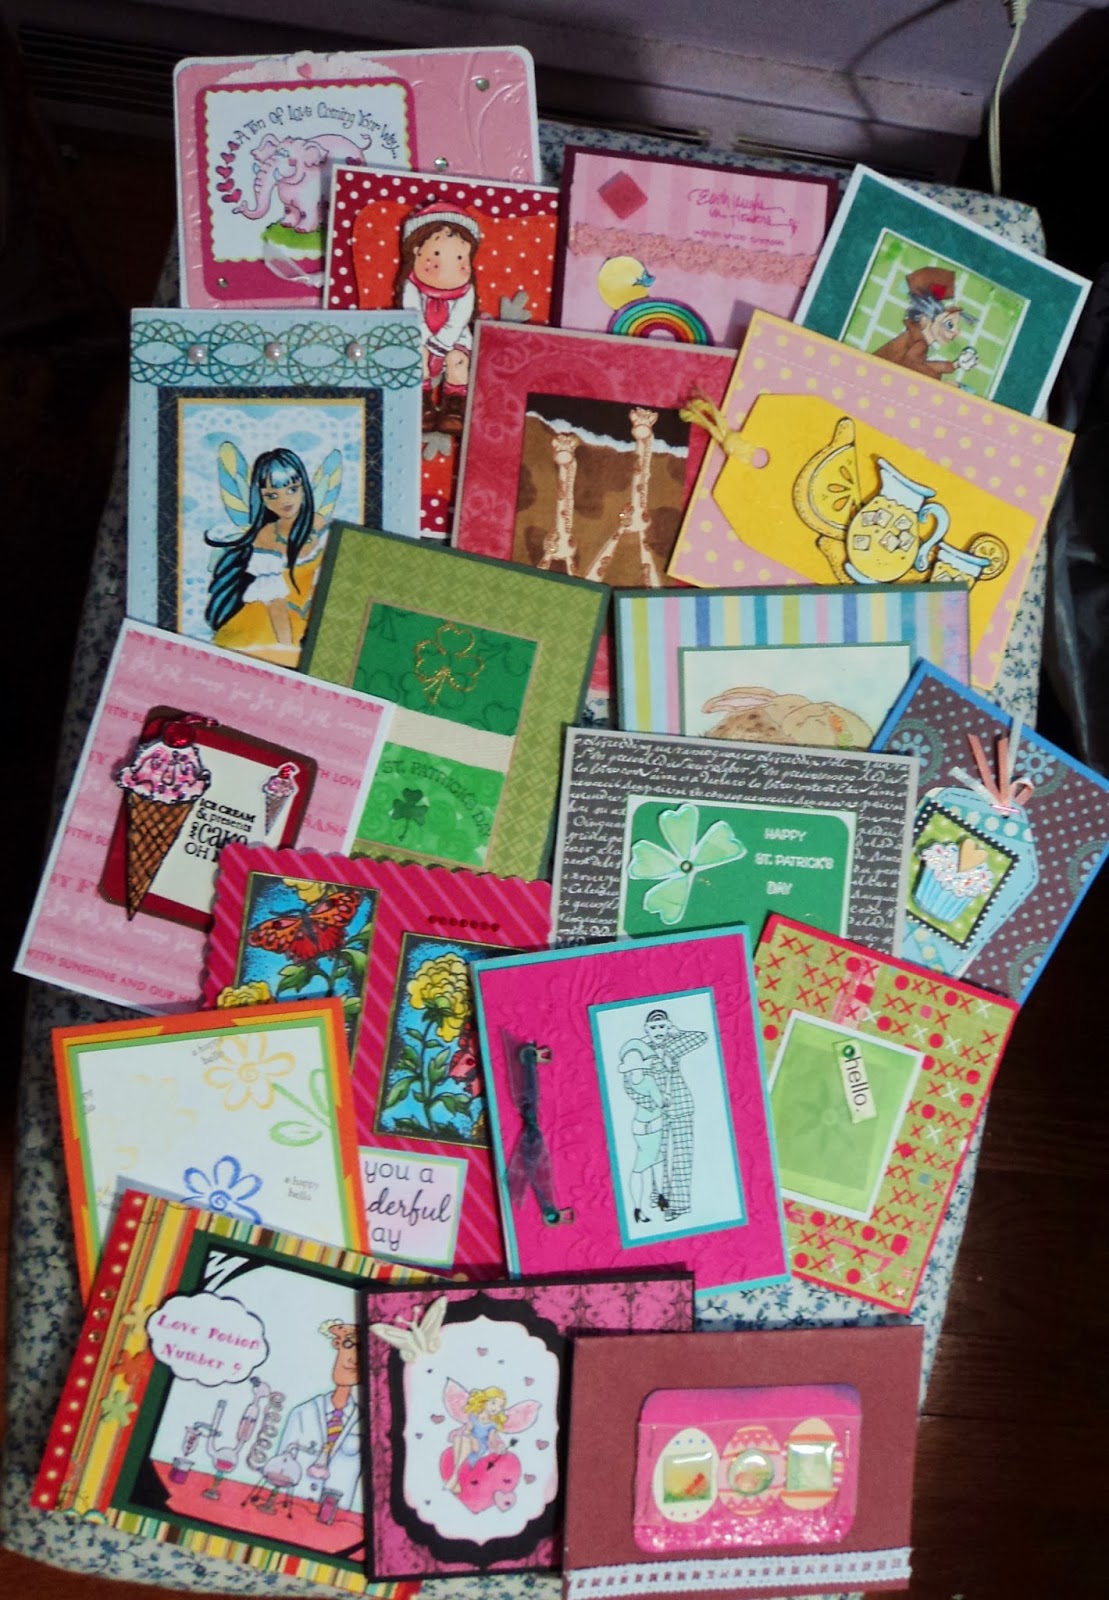
Last year I sent Melissa over 200 handmade cards. This week I am sending her the cards shown here.
I've made and sent out two dozen - a good start to 2014. I help to make this world a better place by a simple act of thoughtfulness for others. You can too! Please check out www.OperationWriteHome.org for guidelines for making and sending cards for the troops.
Come play with us in the Path of Positivity Challenge blog this month! Show us what thoughtfulness means to you by linking your card, layout, altered art, writing, photography (really, the sky’s the limit here).
Our guest sponsor this month is Pickled Potpourri, AND THEY'RE GIVING A $7 GIFT CERTIFICATE TO A PERSON CHOSEN IN A RANDOM DRAW BASED ON ALL ENTRANTS.
Other prizes include:
Ten digital images from Creative Bug Digitals for the person out of the top seven who receives the most votes during voting week.
Three digital images from Ike's World for
the post or project that the DT deems most inspiring of the bunch.
One digital designer paper from Décosse's Dynamite Doodles for
one lucky voter who leaves a comment.
One digital sentiment for every single person who enters
the challenge from Décosse's
Dynamite Doodles as well.
Here is the full digital that I used in part for my canvas. Isn't it pretty? You can find it HERE:
Thursday, March 13, 2014
Diving Into Water(colors)
I resolved to try new techniques this year, and have started experimenting with watercolors. While a lot of my pages were, um, blah, I recently colored one up that I thought might have possibilities.
After it dried, I used a 4x6 photo frame and moved it around the page, looking for inspiration. I found two parts of the page that had potential.
Watercolors never interested me, as there is very little control over what the paint and water will do on the page! I never knew how much of a control freak I am when it comes to art. But I am on a personal artistic journey and am learning to let go, learn, experience and have fun.
So far, all I've spent on this new hobby is a couple dollars on a WalMart paint set, but I had to buy some good watercolor paper. It's a cheap way to pull your Picasso or Monet persona out of your soul and onto the page.
Here's the second scene I discovered within my water-colored mess.
Again, the way the paint clumped, flowed, and merged made me think of a landscape. I love this quote, because it also applies to art. I had so much fun with these two landscapes that I created an art journal specifically for water colors and quotes. I'm hoping to find more than landscapes in my artwork, but we'll just have to wait and see!
Whatever your passion, wherever your curiosity and courage take you in your artistic endeavors, remember to have fun doing what you love!
Tuesday, March 11, 2014
Birthday Wishes to Somebunny Special
Well, winter is still sticking around, but Spring is definitely in the air! That's saying a lot coming from Chicago. LOL To celebrate the near-arrival of Spring, I used a gorgeous new release from Queen Kat Designs called "Sketched Bunny."
I printed my image three times, giving each a hint of Spring color using Copics BG10 & RV11, and Zig Brushables markers English Lavender & Butter. The sentiment comes from another QKD stamp set called "Birthday Party ." by artist Sandra Caldwell.
I embellished simply with a few pearls,a yarn flower and embossed daisies.
I don't have a lot of friends or family with birthdays in the Spring. Most of them celebrate theirs in the Fall; of course, I was born on Income Tax Day (my nickname was "daddy's little deduction").
Whether you make spring, fall, summer or winter cards, you will love the new releases this month!
Monday, March 10, 2014
Say It with Flowers
Easter is a big holiday for someone like me who works in a church. I make more Easter cards thatn I know what to do with, but they all seem to be gone by the time Spring Break rolls around!
Today my Easter card showcases new images from Squigglefly to inspire crafters to play in this week's challenge: Add some Flowers to your card--this can be IN your image, or as embellishments; they can be paper flowers, floral brads, floral die cuts, flowered paper--really, any flowers you want to share!
Both of my Squigglefly images are from artist Pamela Lehto. The image is called Easter Praying Hands and the sentiment is called Even Today. I colored the image with Copics and framed it with cardstock. The sentiment was diecut with my Nestabilities die and my Epic Six machine. the patterned paper is from K & Co. So already we have flowers in the image and patterned paper. But NO, that wasn't enough! LOL
I added a creamy white rose to the mis, and even the charm in the upper corner looks a little like a blossom. So I think I've said it with flowers, and now it's your turn! Come play in the challenge at Squigglefly this week!
Tuesday, March 4, 2014
Getting Steamy with a QKD Image
It's new release time over at Queen Kat Designs, and I have a great image to show you today!
I altered a composition notebook for my daughter. She fell in love with "Steampunk Heart" one of the new digital images available at the QKD Shop. She loves to write, so I covered a composition notebook with some handmade paper and distressed the heck out of it.
I colored this heart image with Copics, adding some shine in parts with Liquid Glass from CTMH. I had a few gears from Spare Parts by the Paper Studio that I adhered onto the heart. The rest of my gears and chains went onto my cover, along with some hearts and a journal sticker.
I have been cleaning out my craft room, trying to get organized, and I rediscovered some grunge board in the shape of latches. I distressed them with inks, paints and mists, spraying and rubbing and sanding. I'm quite proud of how they turned out. In person, they look like strips of leather. One thing I have also discovered in my craft room clean-out. I don't have a lot of "distressing" supplies. I'll have to fix that right away! LOL
My daughter saw her new notebook this morning and she loves it. I might have to make another one, just for me! For some more inspiration, check out the QKD Facebook page. And get over to the SHOP if you want to purchase this little beauty of a digital image!!
Monday, March 3, 2014
Thoughtfulness Theme at Path of Positivity Challenge Blog this Month
Have you ever been waiting in the grocery line and let
someone step ahead of you?
Have you ever taken a walk in your neighborhood and tossed a
neighbor’s morning paper onto their front stoop?
Have you ever taken a few more minutes to clean snow off
your co-worker’s car before you drive away in yours?
These are just a few of the many ways you would be showing
your thoughtfulness for others. Thoughtfulness
is defined as giving consideration to others.
Opening the door for someone…checking on a neighbor…thanking the cashier…and
the bagger. If everyone just gave a
little thoughtfulness to others once a day, what a wonderful world we would all
live in!
My project today is a card for a friend. She has not been having a good week and I thought that a pretty card might cheer her up. It uses lovely images from Pickled Potpourri called "Today" and they come with several sentiments! I love that the scenes are already framed, and that the flower and the butterfly extend past their frames.
Sometimes all it takes to show a little thoughtfulness is a simple card or note to show someone that you thought of them. Very easy to do, and doesn't take any time at all!
This month the Path of Positivity Challenge Blog wants to see what you think about Thoughtfulness-show us with a project, or tell us in a post. The challenge runs from March 3 through April 6. Blog sponsors and prizes are:
Ten digital images from Creative Bug Digitals for the person out of the top seven who receives the most votes during voting week.
Three digital images from Ike's World for the post or project that the DT deems most inspiring of the bunch.
$7 gift certificate from PICKLED POTPOURRI, our Guest Sponsor, for a person chosen in a random draw based on all entrants.
One digital designer paper from Décosse's Dynamite Doodles for one lucky voter who leaves a comment.
One digital sentiment for every single person who enters the challenge from Décosse's Dynamite Doodles as well.
Favorite Colors Challenge at Squigglefly
Today I made a card for one of the priests at my parish. He turns 80 this week, and is semi-retired. Among his many passions is golfing, so I thought this Squigglefly digi set by artist Joy Hall was perfect. It's called "Golf Day." I paired the images with a set of Squigglefly sentiments from Marlene S called "Golf Miracle."
Because I used a three part sentiment, I made a tri-fold card out of 5.5"x12" cardstock. The patterned paper was leftover. I colored my images (printing the golfer twice) with my trusty Copics, inked the edges and framed it in cardstock before popping it onto the first and second faces of my card.
On the inside, I used white cardstock to print the last part of "Golf Miracle," which reads:
"If it goes Straight, It's a Miracle!"
Nice touch for a Catholic priest, wouldn't you say?
Squigglefly offers a challenge each week, with free digis to random winners. Of course, in order to win a prize, you need to use a Squigglefly image, but have no fear, they offer a large amount of FREEBIES from which to choose!
This week's challenge is to use your two favorite colors in combination. Mine are BROWN and (anything) GREEN or blue. My card sports a mingling of shades of brown as well as green and blue (shh, that's three but who's counting).
What are your two favorite colors? Put them to use with the Squigglefly challenge, now through Sunday!!
Subscribe to:
Posts (Atom)