Today I have a Spring digi image from Meljen's Designs called Bunny Cupcake. This week on the blog their challenge is to use a Meljens image and a sketch.
After coloring my image with Copics, I tore it and popped it onto the card base after adhering a strip of patterned paper across the bottom. I added a butterfly border from K & Co. on the left side, and used a single butterfly from the leftover piece to embellish above the image. My sentiment came from a Michael's dollar bin acrylic set, stamped with CTMH ink and distressed with coordinating ink..
I like my card's background. I used a printed napkin and some matte medium to give it a textured feel to it. I tore some of the edges off and then inked them to distress a little.
Isn't that bunny Cupcake too cute?! You can get her and a bunch of Spring digi's at Meljen"s Designs. Don't forget to play in the challenge, too!
Wednesday, March 13, 2013
Tuesday, March 12, 2013
Embrace Imperfection
It's time to show off a new card using my stash of papers (self-admitted paper-holic here)! Today I made a birthday card for my daughter using a QKD stamp from Coriander Shea Detwiler called Dragon Riders. My daughter's birthday isn't until the summer, but when she saw this card, she wanted me to save it for her!
The reason it's called Dragon Riders is because of the tiny butterflies sitting atop our little friend. I think that's a very clever name for this image. I used a piece of leftover DCWV paper from the Once Upon a Time stack and perched him on top of a bit of ribbon. Once I added the larger butterflies to the background, I used white gel pen and added a few more circles/bubbles/fireflies to the whole scene. A few white heart-shaped brads and my card was almost complete. I just needed a message, and I chose a Tim Holtz Idea-ology charm that reads, "Embrace imperfection".
SO, if you could, would you take a ride on a dragom? I would, in a heartbeat. Maybe I should put it on my bucket list. it's no more fanciful than some of the things I've already listed there! LOL
Go check out all the cool and cute stamps that Coriander Shea has for you to play with at the store. And let your creativity take flight!!
Labels:
card,
Coriander Shea Detwiler,
dragon,
QKD
Monday, March 11, 2013
Live and Learn with a Squigglefly Challenge
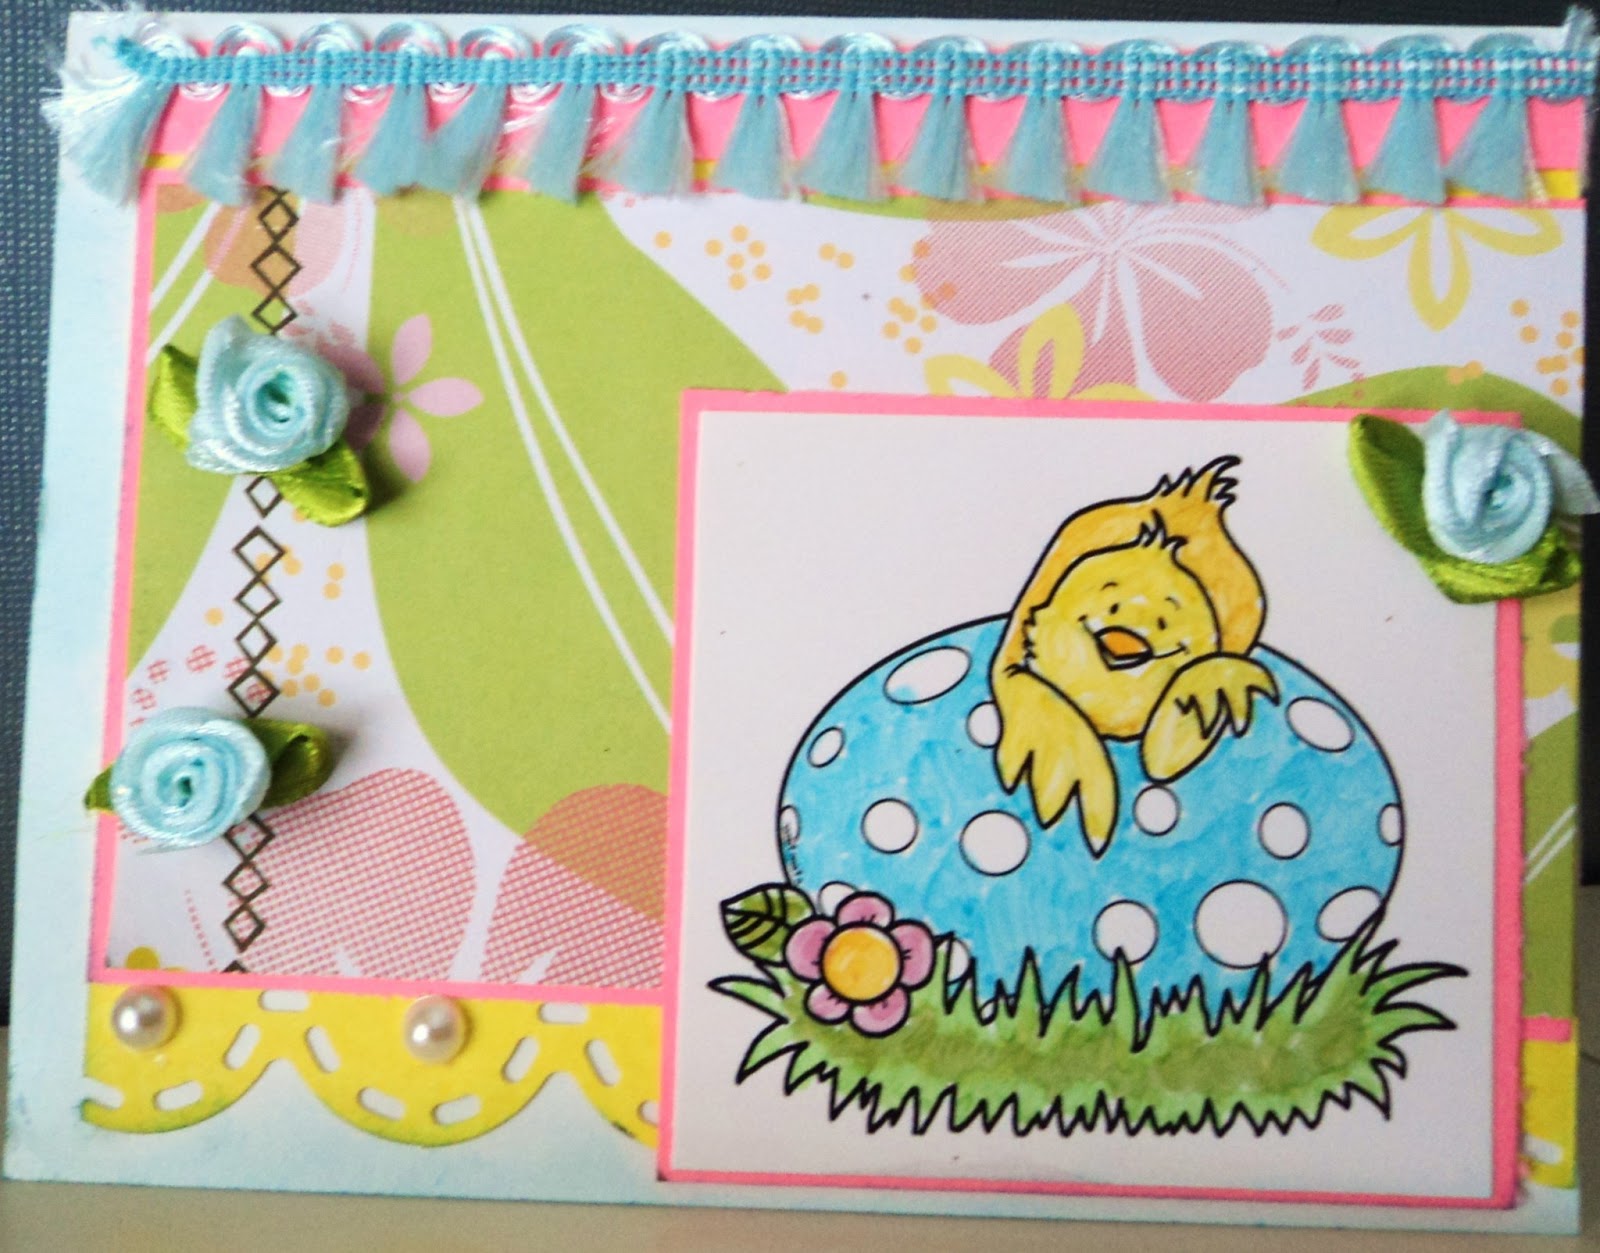
Today I made a Spring card for the Squigglefly Challenge Blog, whose theme is SPRING!! I used a new March release called "Over An Egg" by artist Fawn Palmer. I love the image, but I tried a different coloring technique and I don't like it, so you'll probably see more than one card using this delightful Spring digi very soon.
I mistakenly put photo paper in my printer instead of cardstock, then thought I would still color and use it to try something different. But the alcohol inks don't blend on the glossy texture, and it can smudge unless you wait longer than I am used to for cutting and handling purposes.
But the overall design of the card still rocks it I think. I used a small piece of patterned paper for my inspiration, then added coordinating cardstock to frame the image and the pp. The trim, rosettes and parls are all Michael's clearance items that I snagged for 50 cents a bag. The black stitching is part of the pattern on the paper, and I punched the scallop design at the bottom with my CM punch system.
I think Robin's Egg Blue is my fave Spring color! What's yours?
Whatever it is, get over to the Squigglefly Challenge Blog for your chance to win free digi's, and there are so many new ones from which to choose!!! If you don't have any Squigglefly digi images, pick up some FREEBIES. Have fun, and happy crafting!
Wednesday, March 6, 2013
Forever Young
I have graduated from small canvas art pieces using House Mouse images exclusively, to larger canvas using, well, whatever I feel like using. Today I felt like using a photo of Loretta Young, a popular movie star from the 1930's and 40's. She played with leading men like Clark Gable, Cary Grant, Spencer Tracy and Tyrone Powers. They were all legends in that golden age of Hollywood. My favorite movies include The Bishop's Wife (the original) with Cary Grant, and Mother Was a Freshman, co-starring a grown up Shirley Temple ( and no I am NOT 100 years old, there used to be things called reruns on TV).
I made a play with words for the theme of my canvas, using her last name and the lyrics from Bob Dylan's song to come up with "Forever Young." I wanted to keep the vintage look to the canvas using only what was in my stash. First I painted the canvas with matte medium and a very light teal colored paint to cover the original picture someone had already painted (the canvas came from Goodwill for 99 cents).
Next came torn tissue papers and vintage-printed napkins. Once the background was finished, I adhered Loretta with Mod Podge after giving her eyes, hair and lips a little color with Copics. I added a string of pearls to dress her up a little.
After printing the lyrics to Dylan's song onto plain copy paper, I decided not to use the whole song--it would cover my hard-earned background--so I tore off one verse from the song, something a little inspirational, something that maybe a mom would hang in her daughter's room. It reads, "May God bless and keep you always, May your wishes all come true, May you always do for others and let others do for you. May you build a ladder to the stars and climb on every rung, May you stay forever young, forever young..." For the rest of the lyrics, check them out HERE.
After using assorted chipboard letters to blot paint around the words Forever Young, I illustrated around them with paint and Copic, using vintage buttons for the letter "O" in both words. A stamped image from Queen Kat Designs, some chipboard stickers and a bit of leftover felt and ribbon borders finished off the major embellishing on my canvas. I again used white arylic paint to bring out some of the more subtle parts of my canvas.
I wish I could show you a time-lapse YouTube video of how I create, but:
1. I don't now how to edit the video to time lapse, and
2. I take my sweet time and change my mind often enough for it to be a biog fat pain in the butt.
All I know is if you haven't tried it, or are getting bored with what you're doing now, find yourself a small canvas and some bottles of acrylic paint and have some fun. Whether the medium is for you or not, you will come out of it feeling more relaxed and maybe a little surprised at what may be revealed to you!
And whatever you do, keep crafting!
Tuesday, March 5, 2013
March New Releases from QKD
It's March, and with a new month comes new releases from QKD! One of them is called "Patches the Hippie Girl" by artist Terrell Dorfeo. Patches looks like she is high on life, and everything is groovy, baby!!
I used mixed media to make this card. I am very much into mixed media right now, and wondered how paint, matte medium and designer napkins would look on a card. I showed my daughter, who is in her third year of art in high school. She said she liked it because it was "different". The texture is very different, and even though the finish is supposed to be matte, it has a bit of a shine to it. What do you think?
I added a few layers of designer tie-dye napkin first, removing the thin backing first and then tearing the bottom for a rough look. I colored my image with Copics, then positioned it on the card with Pop Dots for added dimension. I stamped the sentiment "groovy" with an alpha set and colored in the letters with black Copic and white acrylic paint.
To frame Patches, I drew a peace sign, then placed "flower power" embellies around her. I added a VW Beetle button, and finished off my card with some white acrylic painted dots and white inked edges to lighten it up.
I had fun trying this technique on a new venue, and would do it again. Have you tried mixed media yet? It is "far out, dude"!!
Meanwhile, check out more of the Queen's new releases at the shoppe!
Monday, March 4, 2013
Just a Little Hello from Cheryl Alger
It's time for new releases from Squigglefly Designs! I made a card using a digi image from Squigglefly artist Cheryl Alger called "Just a Little Hello". Isn't she the cutest thing?? And just in time for this week's challenge, which is to use ribbon in any way other than a bow!
I used my bit of ribbon in two places, one being a sort of border on the bottom of my card, but the best is used to make a banner. I found the tutorial for this (she uses construction paper) at Lily's Blog:
I colored my image using a mix of Copic and Spectrum Noir markers and framed it onto red cardstock. The background patterned paper is from paper studio and has the loveliest butterflies on it.
I have to apologize for her bad hair day. In the middle of coloring it, my marker ran out of ink and I had to rub every last drop onto her scalp to finish it!! I guess I get no tip from her!! LOL
If you like "Just a Little Hello", you will love all the new March releases that Squigglefly has out. Want more incentive? Throughout the month of March you can save 15% by using the code spring15 at Squigglefly.
Why are you still here? Go, play with Squigglefly's freebies! Buy your faves at 15% off! Post a pic in the challenge for your chance to win! Get crafting, and have FUN!!
Saturday, March 2, 2013
A Surprise for a Very Good Friend
It took special planning, but I pulled off a surprise for a very good friend, one with whom I have shared spiritual and health issues, prayers, and the ability to vent (on both sides) -- and whom I have never met face-to-face!
I am talking about Linda, owner and mod on Your Scrapbook Place Yahoo Group and soul sister.
When she mentioned that her sis-in-law had passed away and the services were in Dodgeville, I Googled the town, made arrangements, and FB'd her daughter, Becky, to let her know my plans and to keep it secret from her mom.
Here we are (above) together in the gazebo part of her green house (I would liken it to a lighthouse tower). Bill and I were very impressed with the house and its energy-saving, energy-efficient, home. Verdon took Bill out to the shed to show him his "toys", while I toured Linda's craft room and. as you can see below, made friends with Nikko.
Although it was a sad event that finally got us together, we put a positive spin on the day by meeting and talking and having the best visit ever. Thanks to Becky who kept the secret so well, we almost didn't get to meet, as Linda was thinking of skipping the funeral), and to Shelley, both of whom we met at breakfast, discovering we were staying at the same hotel!! Great seeing both of you, and so sorry for your loss.
Subscribe to:
Posts (Atom)