Who doesn't love an Anything Goes challenge, especially from a great company like Crafters' Companion?! I love, love, love what I did with this challenge, and I hope you will too!
I have been experimenting with mixed media lately, and today I took it to the next level, upcycling a rummage sale find into craft room decor. And the bonus is that it serves as an organizational tool! I can store little doodads by color, or hide little bottles of Stickles, or a hundred other little things.
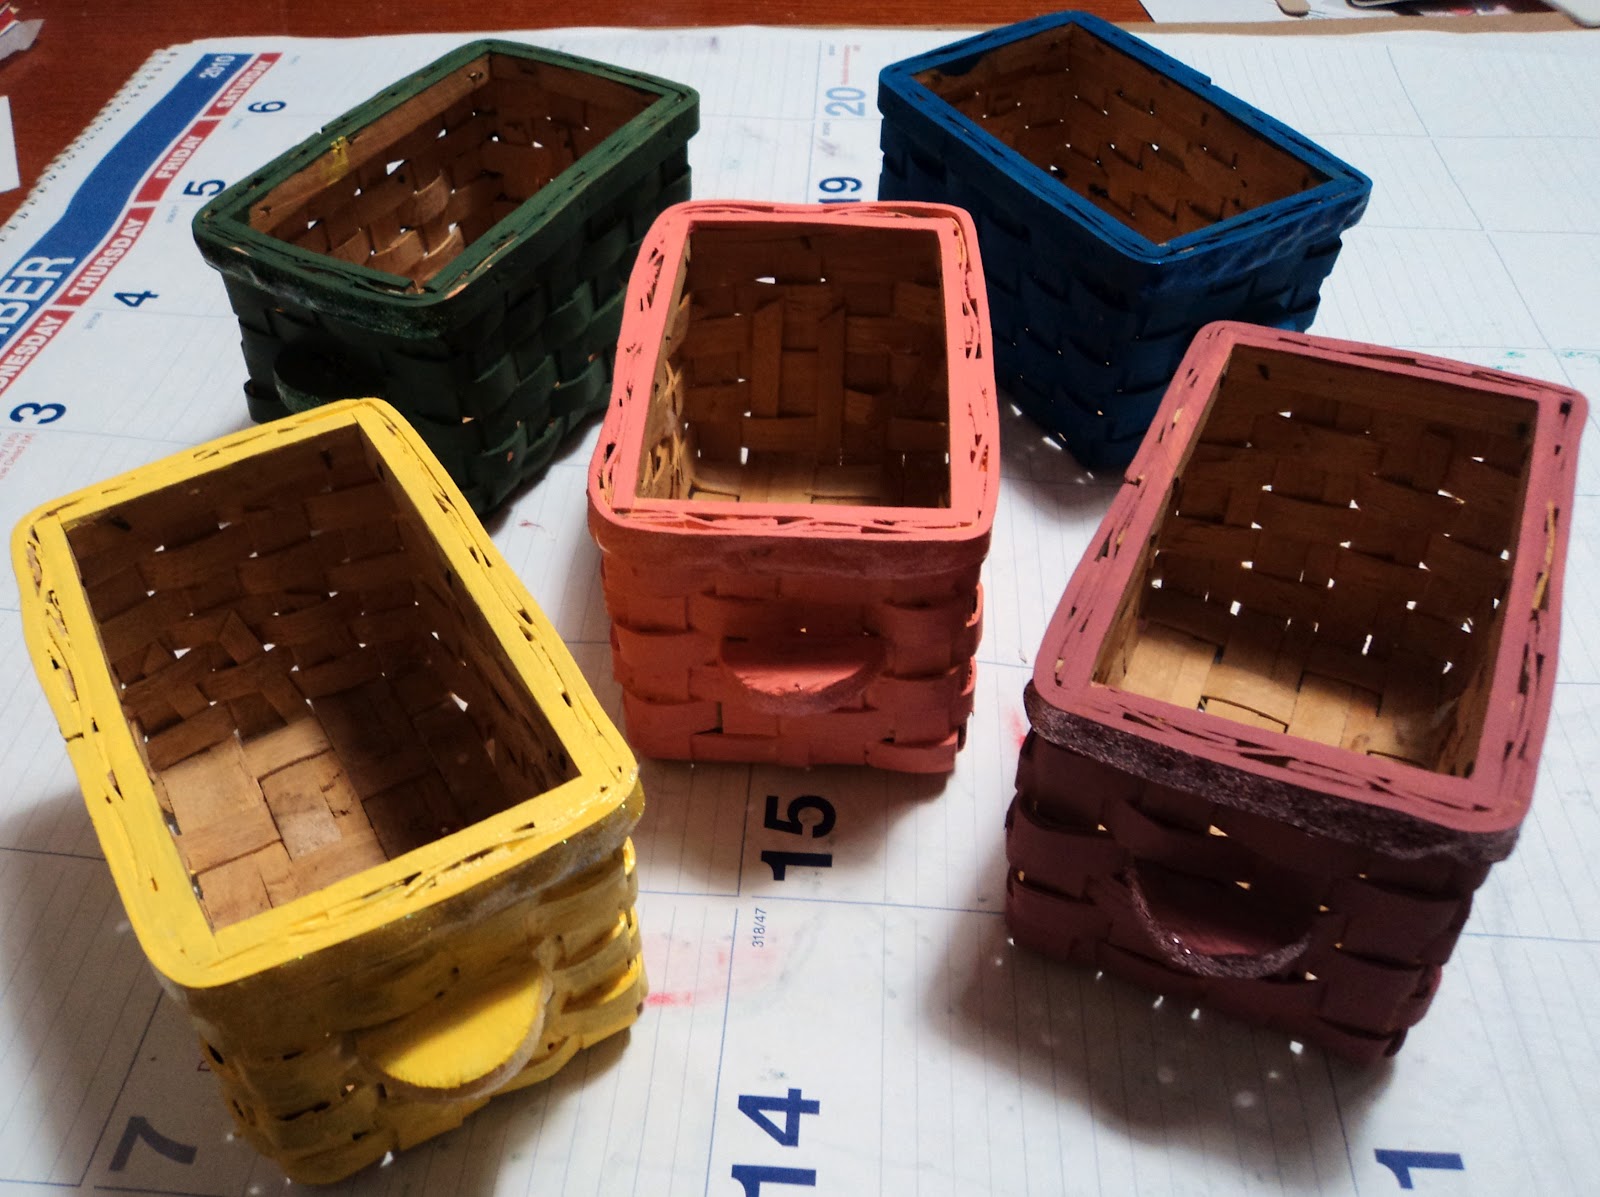
So let me show you how I got from this:
To this:
The first thing I did was to use my manly skills and sand the wood smooth, getting rid of all the old nasty paint, dust and dirt.
While letting my pot of creativity simmer in my head, I used acrylic paints and gave all the baskets a splash of color. That wasn't enough, so I added some Stickles on the front and the handle.
At first, I had thought to paint the wood a dard color and try out my new bottle of Tim Holtz Crackle Paint. But I wanted something a little more crafty.
So I painted the wood white, and started to use ModPodge to decoupage some patterned papers onto it. There was an assortment of papers, but what I finally decided on was the red roses paper. It was a steal of a deal, a "book" of wrapping paper for only $2!! I have the tiniest amount of this one pattern left over, after lavishly tearing and gluing it onto my new storage bin.
Besides the paint, the glitter and the patterned papers, I used a red paper doily to frame the first of my Crafters' Companion stamped images. She's a fairy from the Fairyopolis Autumn collection.
Just like the patterned papers, I slapped some ModPodge onto the surface and stuck the doily and then the image on, then painted more ModPodge over it all.
I did the same with the next stamped image, a cute little fairy from the
Fairyopolis Spring collection, without the doily frame. I added some tiny Prima flowers all over the top of my box, along with bits of Stickles here and there.
I thought I was finished, but after putting the baskets in their slots, it didn't look right. So I pulled out my acrylic paints and splashed some red on the front of the box. While my brush was still wet, I swiped some strokes into the top of the box and the edges.
And that took me to the ends of my box, the "sides. I couldn't help it, I had to use a favorite image from the
Humphrey collection, called Best Friends. I SO love Humphrey. If I had the money, I would own them ALL! Mwahahahaha!!
And now my project is complete, dry and placed strategically in my craft room. I've been doing a lot of cleaning out and organizing in there, and I am making headway. I finally discovered the best way to store my cling stamps, at least for me. I got a bag full of cd cases, the thick kind. Once you pop out the cd holder, it fits quite a few stamps.I bought four CD stands from our local church's rummage sale this year, and am in the process of placing them all in the cd cases.
So here's what my crafting table looks like now, complete with my upcycled shelf of baskets. I still haven't decided whether or not to keep the box frames on the wall, but for now they make good storage and don't take up any table room!!
Keep cool, everyone, and keep crafting, and if you've a mind to it, go on over to the
Crafters' Companion Challenge Blog for inspiration and a chance at some awesome prizes.